Blog
How to Learn Zapier for Business Automation: Beginner Roadmap
A practical beginner roadmap for learning Zapier — from triggers and actions to real business automations — without writing any code.
Quick answer
Start by understanding the trigger-action structure, then build two-step workflows with tools you already use (Gmail, Sheets, Slack, Notion). Add filters, formatters, and multi-step flows once the basics feel clear. The fastest way to learn Zapier is to automate one real business task — not study the platform in the abstract.
What Is Zapier?
Zapier is a no-code automation tool that connects apps and lets them work together automatically.
At the most basic level, Zapier helps you create workflows between tools like Gmail, Slack, Notion, Google Sheets, Airtable, HubSpot, Trello, Calendly, and hundreds of others.
A simple workflow in Zapier is called a Zap. Every Zap has two main parts:
Example: someone submits your website form → their info is added to Google Sheets. That is the foundation of Zapier.
- Trigger — the event that starts the automation.
- Action — the task Zapier performs after the trigger happens.
Why Learn Zapier for Business Automation?
Businesses run on repeated processes. Leads come in. Meetings get booked. Tasks get assigned. Updates get shared. Most teams handle many of these steps manually for far too long.
Learning Zapier lets you save time on repetitive work, reduce human error, keep tools in sync, speed up team communication, and automate without waiting for developers.
You can feel the value of Zapier quickly — that is why it is such a strong beginner automation tool.
- For founders: automatically send new leads into a CRM.
- For marketers: move form entries into an email list.
- For operations: turn customer requests into tasks.
- For small teams: less chaos, fewer things slipping through the cracks.
Core Concepts Every Beginner Should Know
Before building automations, learn these basic terms. These ideas matter more than memorizing platform details — once you understand them, learning accelerates.
- Zap — a workflow created in Zapier.
- Trigger — the event that starts the workflow (e.g. a new row is added in Google Sheets).
- Action — what Zapier does after the trigger (e.g. send a Slack message).
- Multi-step Zap — a workflow with more than one action.
- Filter — a condition that decides whether the workflow continues.
- Formatter — a tool to clean or transform data (e.g. split full name into first and last).
- Paths — different branches of logic inside one workflow.
- Field mapping — choosing which data from the trigger goes into the action.
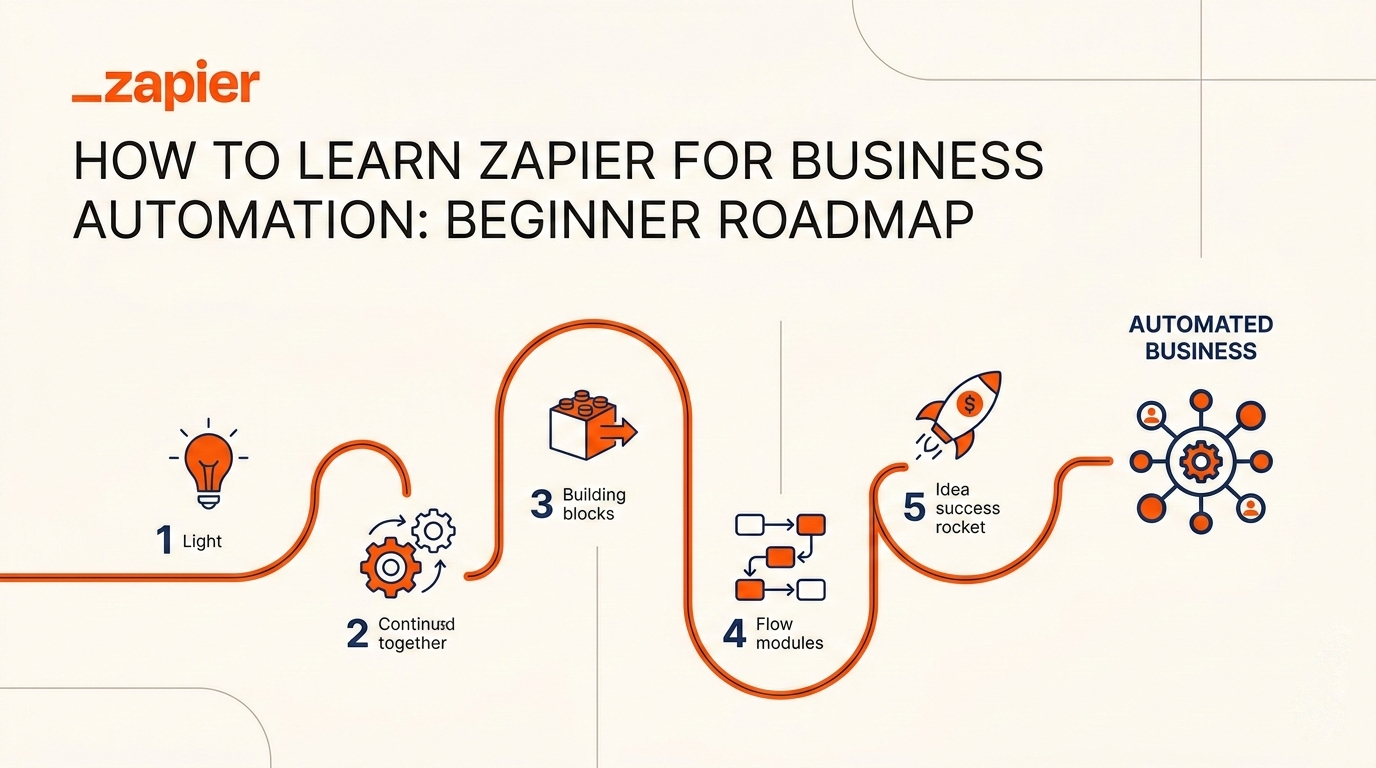
Beginner Roadmap: What to Learn First
A lot of beginners make the same mistake: they jump into advanced automations before understanding the basics. That usually leads to confusion and broken workflows. A better approach is to learn in stages.
- Phase 1 — Understand the logic: when this happens, do that. Learn what triggers and actions are, how apps connect, and how data passes between steps.
- Phase 2 — Build simple two-step workflows with obvious value: form → Sheets, Calendly → Slack, Gmail → Trello.
- Phase 3 — Add control: filters, delays, formatters, field mapping, multi-step flows.
- Phase 4 — Practice with business use cases: lead capture, onboarding, task assignment, support handoff.
- Phase 5 — Learn maintenance: test edge cases, name workflows clearly, document each Zap, remove broken steps.
How to Build Your First Zap
Let's walk through a practical beginner example. Goal: when someone submits a contact form, their info is added to Google Sheets and the team gets notified in Slack.
This one workflow teaches almost everything a beginner needs: trigger, actions, field mapping, testing, and multi-step structure.
- Step 1 — Choose your trigger: select your form app and the event "New form submission".
- Step 2 — Connect the app: authorize it in Zapier and pull in sample data for testing.
- Step 3 — Add action 1: Google Sheets → Create Spreadsheet Row. Map name, email, and message fields.
- Step 4 — Add action 2: Slack → Send Channel Message. Build a message using the mapped form fields.
- Step 5 — Test the workflow: verify the row appears in Sheets and the Slack message is correct.
- Step 6 — Publish the Zap.
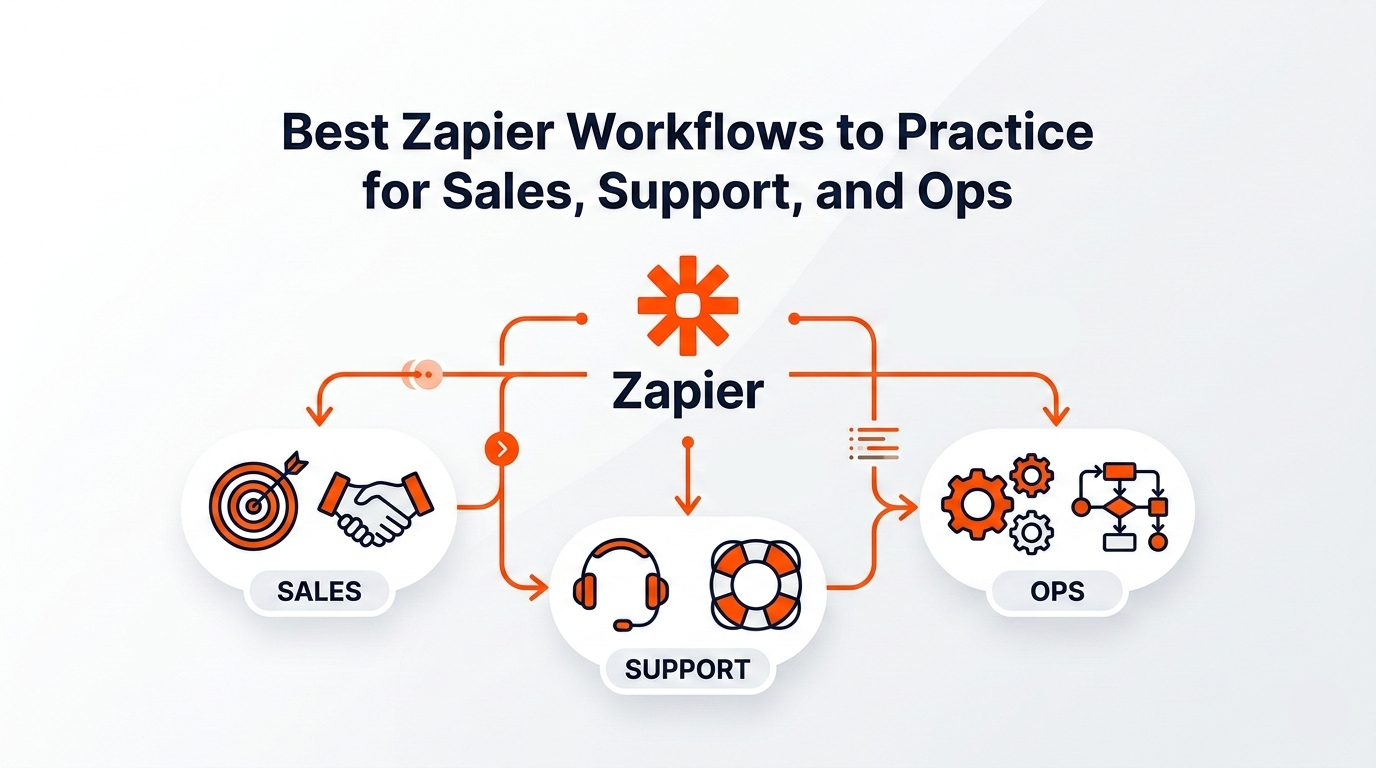
Five Business Automations Beginners Should Practice
After your first Zap, practice with workflows that solve real problems. These examples help you learn faster because the business purpose is clear.
- New lead form → CRM contact — a basic sales automation for understanding lead flow.
- New Calendly booking → Slack notification — useful for internal visibility and team coordination.
- New customer → onboarding task in Notion or Trello — perfect for operations and client management.
- Support form → tagged task for the right team — good for learning routing and process structure.
- New spreadsheet row → email follow-up — a strong beginner use case for communication automation.
Common Beginner Mistakes
Learning Zapier is easier when you avoid a few common traps.
- Automating a bad process — fix the workflow first, then automate it.
- Starting too complex — build small, then grow. Huge multi-step systems too early cause confusion.
- Ignoring field mapping — a workflow can look correct and still send the wrong data.
- Forgetting edge cases — test with realistic data, not only the perfect example.
- Too many disconnected Zaps — build with a system in mind, not isolated automations.
- Poor naming — use clear names like "Website Form → Sheets → Slack", not vague ones like "Lead flow 2".
A Simple 7-Day Beginner Learning Plan
One focused week is enough to build real momentum with Zapier. You do not need months to get useful results.
Seven days of focused practice is enough to go from total beginner to someone who can automate small business processes confidently.
- Day 1 — Learn the basics: Zap, trigger, action, field mapping.
- Day 2 — Connect two apps and build a simple two-step workflow.
- Day 3 — Practice with a second workflow in a different category (calendar or email).
- Day 4 — Learn filters and formatters.
- Day 5 — Build one real business automation: leads, support, or internal tasks.
- Day 6 — Add a multi-step workflow with two or three actions.
- Day 7 — Review automations, improve names, retest everything, and document what each workflow does.
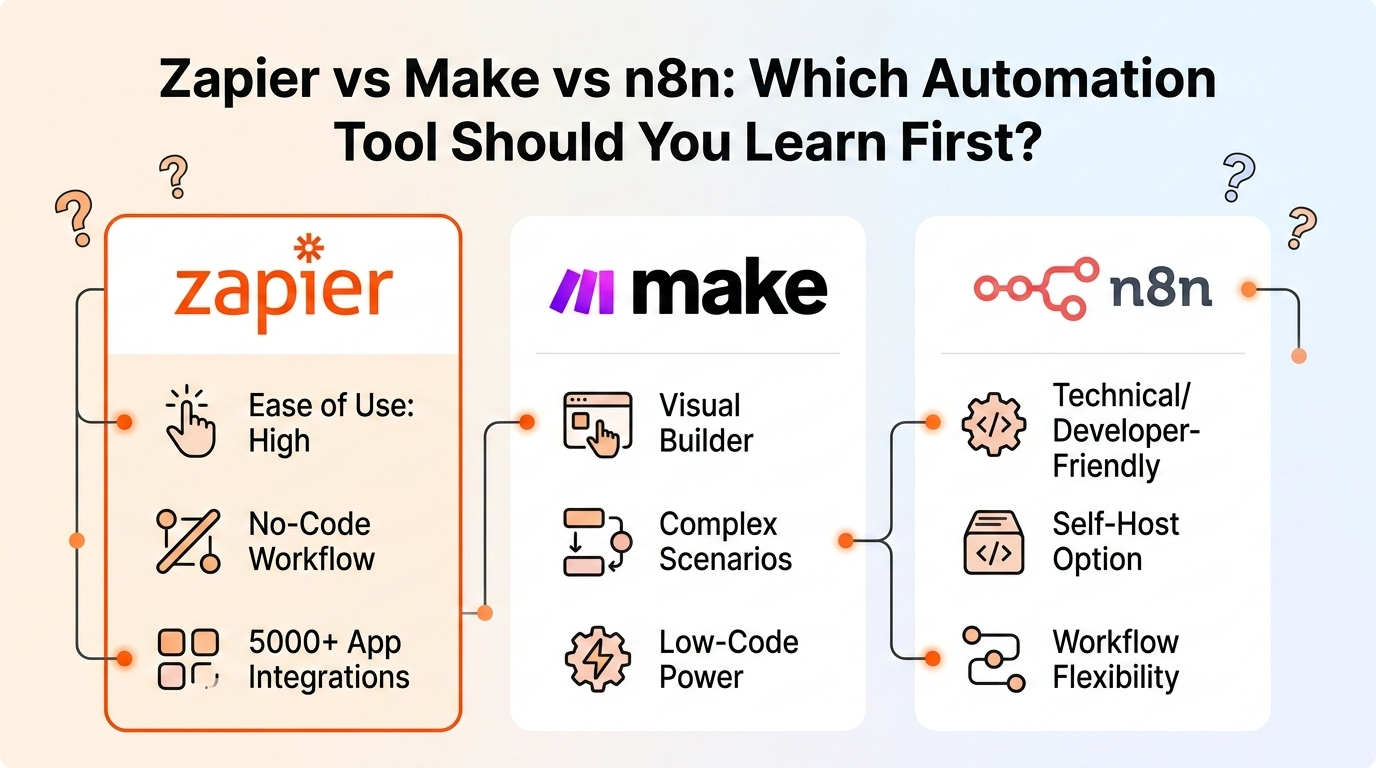
Zapier vs Make vs n8n
As a beginner, you may also hear about Make and n8n. Here is a simple way to think about them:
For most beginners focused on business automation, Zapier is a strong first choice because it is easy to understand and quick to use.
- Zapier — best for getting started fast and building business automations with minimal friction.
- Make — great for people who like visual workflow design and want more complex flow building.
- n8n — often better suited to more technical users who want flexibility and control.
Final Thoughts
Learning Zapier is not really about mastering one tool. It is about learning how modern business systems work together.
Once you understand triggers, actions, data mapping, and workflow logic, you start seeing automation opportunities everywhere. A form becomes a lead pipeline. A meeting becomes a task. A customer action becomes the start of an onboarding flow.
Start small. Build useful workflows. Practice with real business tasks. Then improve step by step. The fastest way to get good at Zapier is not reading forever — it is building.
Want a step-by-step Zapier study plan with theory, quiz, and hands-on practice tasks? Generate your personalized beginner roadmap on Kavka and start learning by doing.
Build your personal plan
Ready to practice Zapier?
Get a step-by-step learning route tailored to your level — with quizzes and hands-on tasks, not just theory.